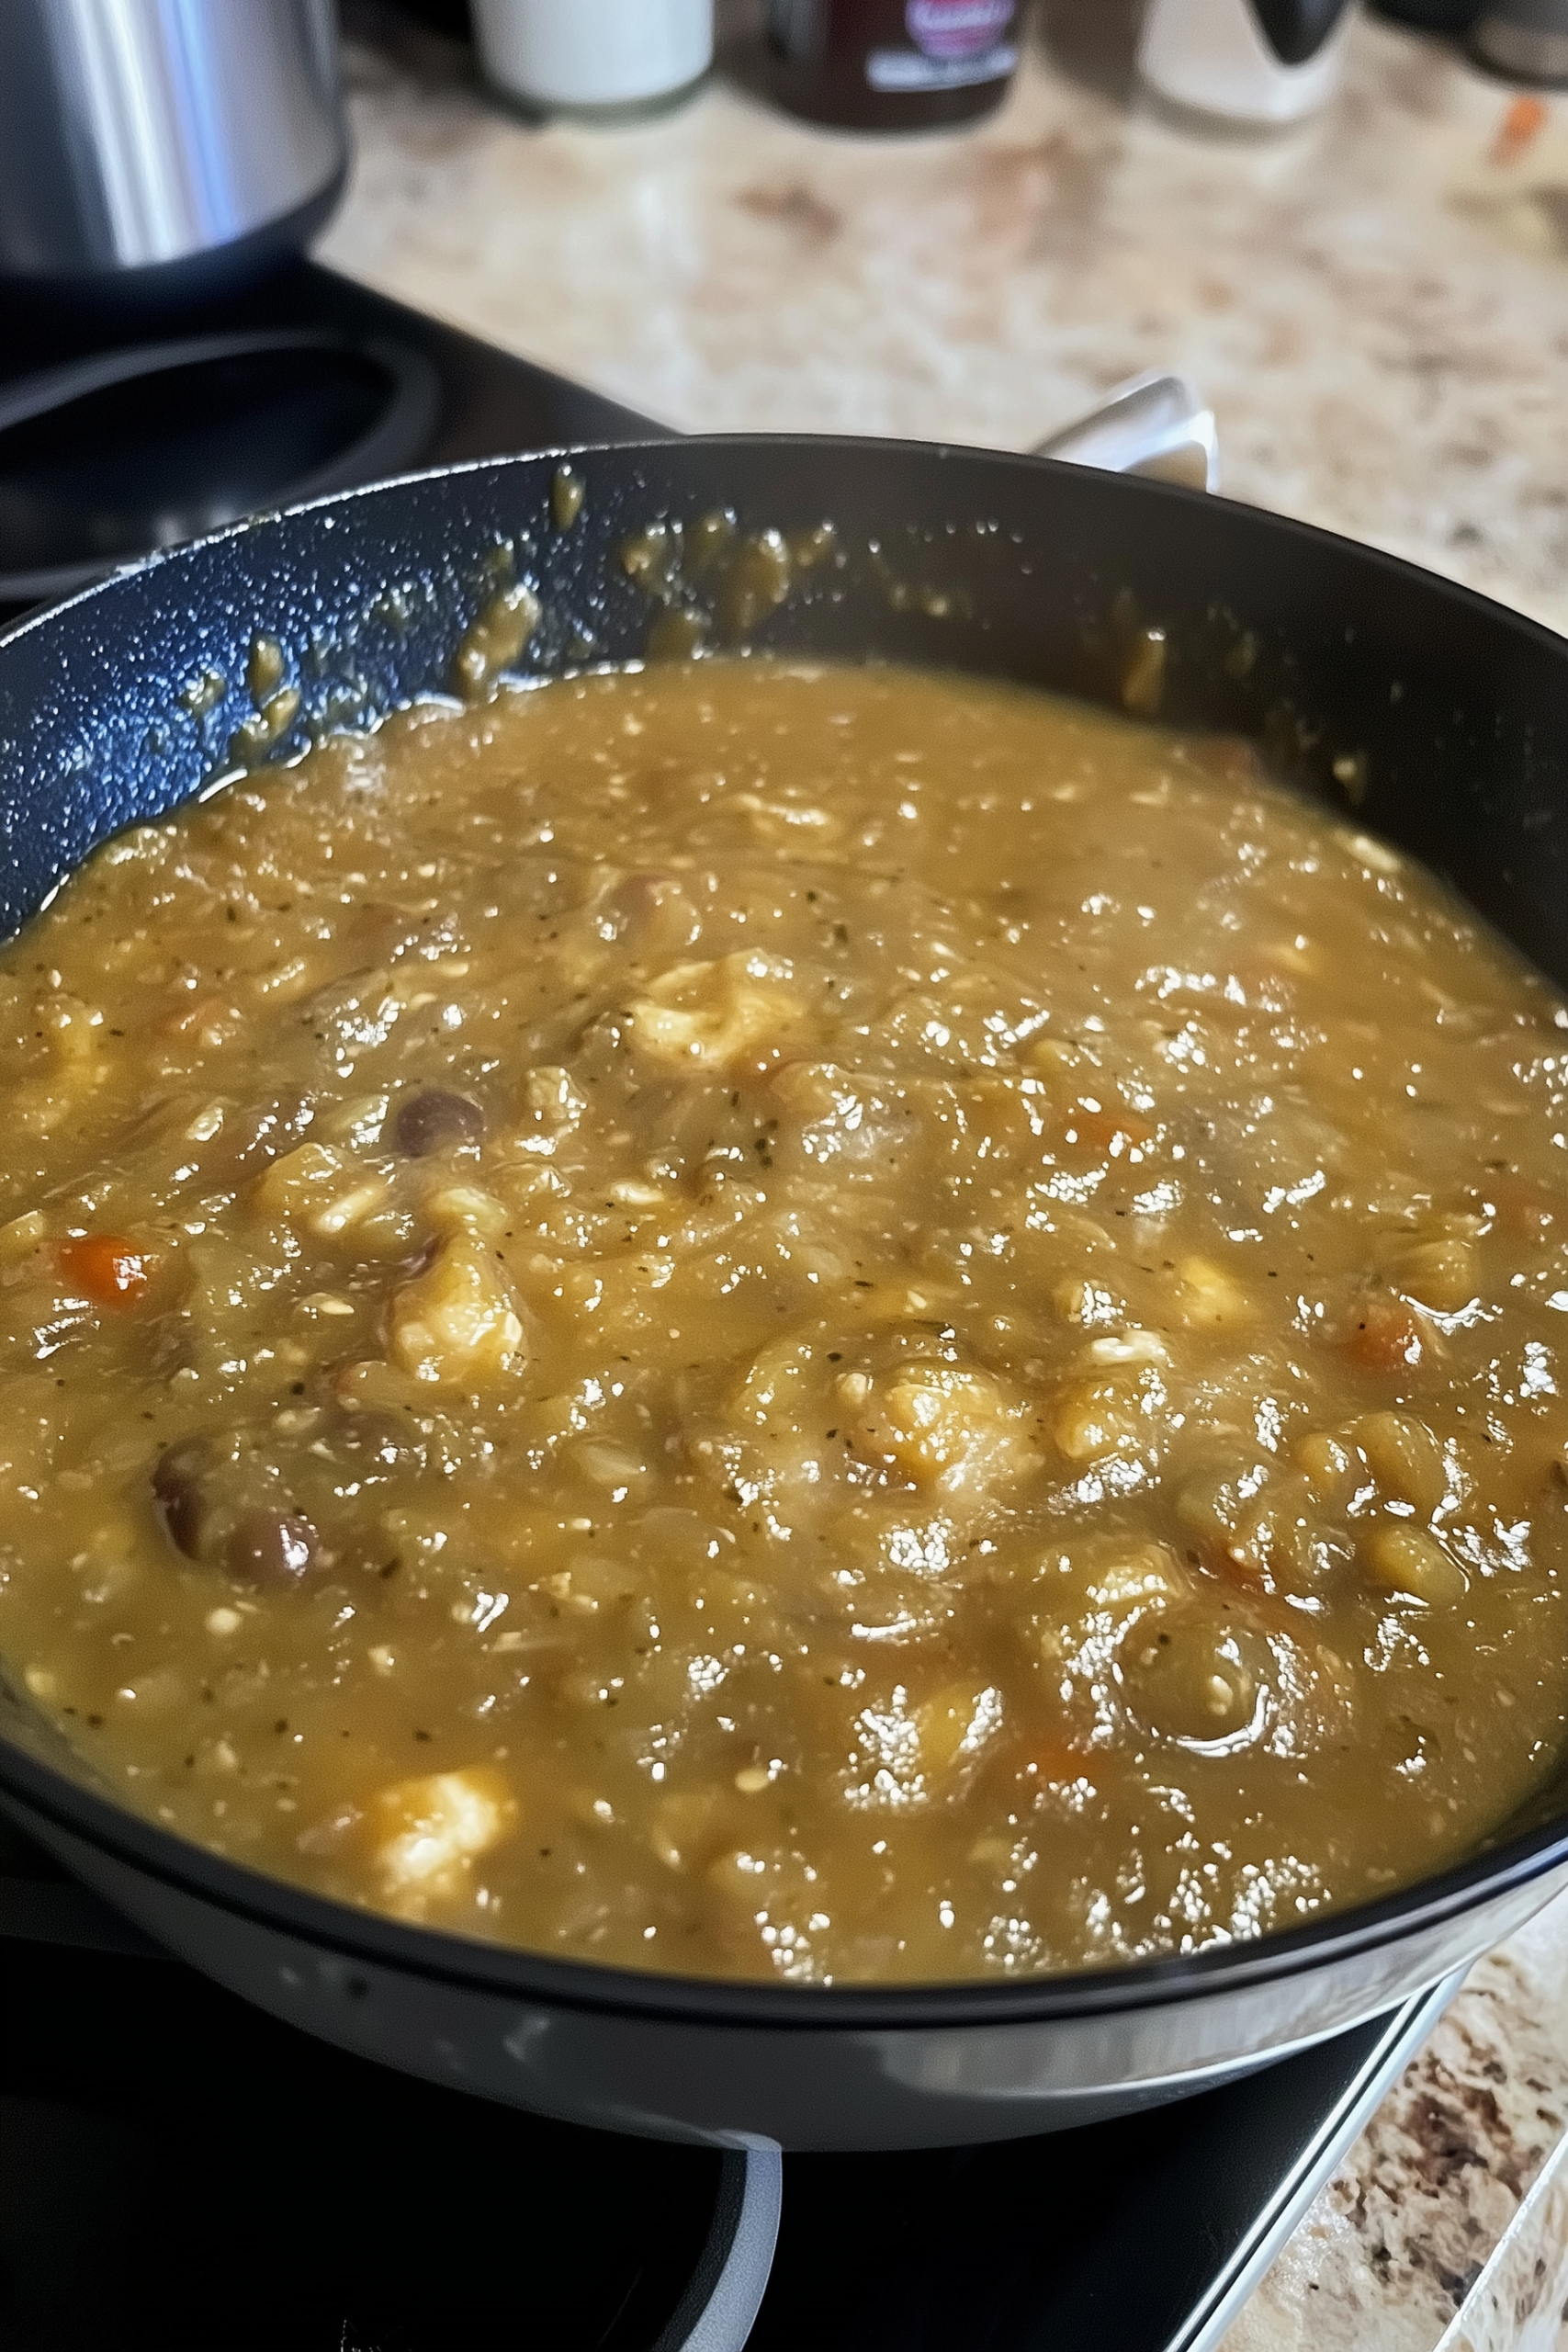
Preserve the smoky heat of New Mexico roasted green chiles in a shelf‑stable chile verde sauce you can enjoy year‑round.
When you think of autumn in the Southwest, the smell of green chiles roasting is unmistakable. This recipe transforms that seasonal magic into pantry‑ready jars of homemade green chile chile verde. By combining fire‑roasted green chiles with garlic, onion, broth (or water), and the proper acid or pressure‑canning method, you’ll capture authentic New Mexican flavour that lasts. Whether you ladle it over eggs, use it as a simmer sauce for pork or chicken, or drizzle it on burritos, these jars will bring a taste of harvest season into your kitchen any time.
Table of Contents
Why You’ll Love This
-
Authentic Southwestern flavour – Roasted green chiles bring smoky, earthy, and mildly spicy notes that define New Mexican cuisine.
-
Seasonal freshness preserved – Canning locks in the flavour of freshly roasted chiles so you can enjoy them long after the season ends.
-
Versatile in the kitchen – Use this chile verde as a sauce, stew base, topping for eggs, or a companion to burritos and enchiladas.
-
Homemade & shelf‑stable – You control the ingredients, and when properly canned you’ll have jars that last 12‑18 months in a cool, dark pantry.
-
Balanced layers of taste – Garlic, onion, optional cumin or oregano, plus citrus or vinegar (for acidity) bring depth beyond just heat.
-
Rooted in tradition – This isn’t just a recipe—it honours the culinary heritage of the Southwest and the joy of preserving a seasonal crop.
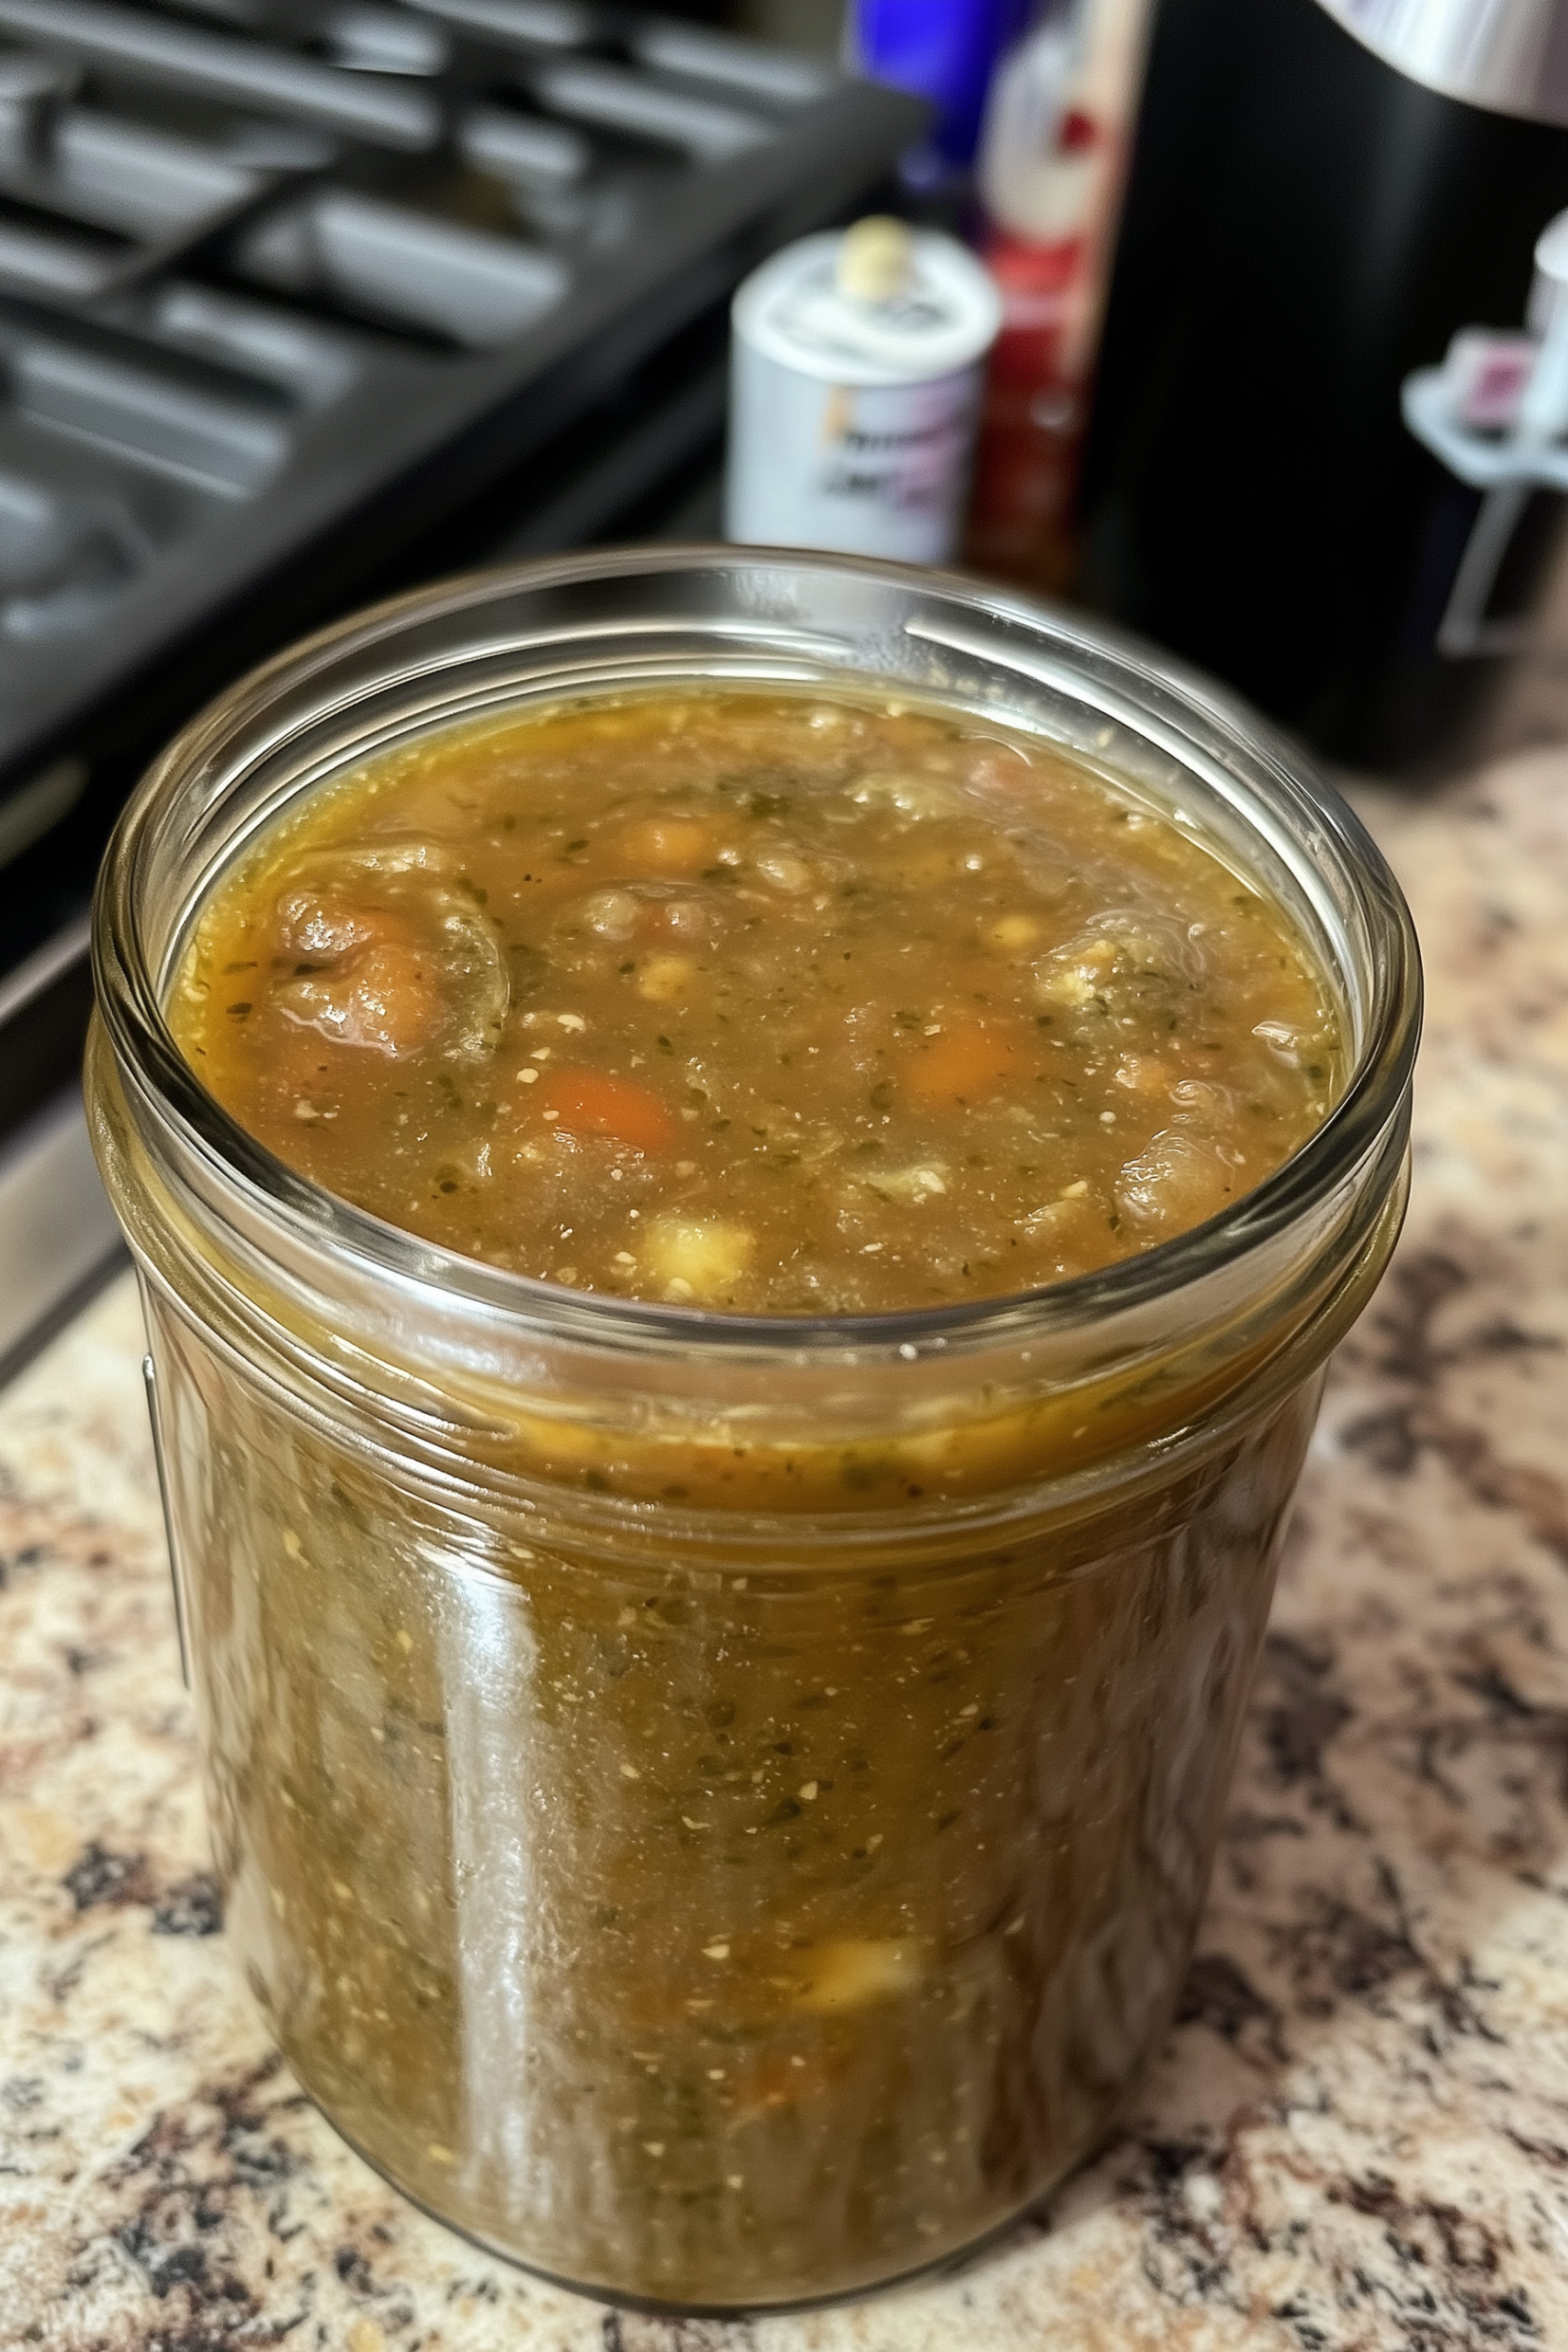
Ingredients
-
8–10 roasted New Mexico green chiles (peeled, seeded, chopped)
-
2 cloves garlic, minced
-
½ medium onion, diced
-
1 teaspoon onion powder
-
1 teaspoon garlic powder
-
3–3½ cups water or low–sodium chicken stock
-
2 teaspoons canning salt (non‑iodized)
-
If water‑bath canning: 2–3 tablespoons bottled lemon juice or 2–3 tablespoons 5% white vinegar
-
Optional: ½ teaspoon ground cumin, ½ teaspoon dried oregano, chopped fresh cilantro at serving
Instructions
1. Prepare the chiles:
-
Roast the green chiles until blistered and blackened. Steam them in a covered bowl or bag for ~10‑20 minutes, then peel, seed, and chop. This roasting deepens the flavour and loosens the skins.
-
Safety note: Because green chiles are low‑acid foods, they require pressure canning or very careful acidification if using water‑bath.
2. Sauté aromatics:
-
In a heavy pot over medium heat, add a little oil and sauté onion and garlic until translucent (~3‑4 minutes).
-
Stir in the chopped chiles, onion powder, garlic powder and optional cumin/oregano. Cook 2‑3 minutes.
3. Simmer sauce:
-
Add water or stock and canning salt. Bring to a simmer and cook uncovered ~20‑30 minutes to meld flavours and reduce slightly.
-
If using water‑bath canning: stir in the bottled lemon juice or vinegar now for safe acidity.
4. Fill jars & process:
-
Sterilize jars, lids and rings.
-
Fill hot jars with hot chile verde, leaving appropriate headspace (usually ½ inch). Remove any air bubbles; wipe rims clean.
-
For water‑bath canning (only if acidified): Process pints for ~40 minutes (adjust time for altitude).
-
For pressure canning (recommended for low‑acid green chile sauces): Process according to guidelines (e.g., 10 lbs pressure for pints, ~55 minutes; adjust for altitude).
-
Cool jars upright without tightening bands for 24 hours, then check seals.
Tips / Storage / FAQs
Tips:
-
When roasting chiles, wear gloves—all capsaicin oil lingers and can irritate skin/eyes.
-
Ensure jars are hot when filling to prevent breakage due to thermal shock.
-
If sauce seems too thin, simmer longer to concentrate flavours before canning; avoid thickening with flour/cornstarch (weakens safety).
-
Label jars with date, contents, and heat level.
Storage:
-
Properly sealed jars in cool, dark pantry: up to 12‑18 months.
-
Once opened: refrigerate and consume within 7‑10 days.
-
If any jar shows bulging lid, leaks, or odd odor, discard—safety first.
FAQs:
-
Can I add meat or beans and then can? For safe shelf‑stable meat/bean additions, you must use pressure canning and follow tested recipes exactly. Do not add thickened with flour and do not rely on water‑bath for meat. Is water bath okay for pure chile sauce? Only if properly acidified and the recipe is tested; low‑acid foods < pH 4.6 require pressure canning to prevent botulism.
-
Can I skip the roasting? Technically yes, but roasting adds deep flavor and better texture—raw chiles will result in a flatter, greener taste.
-
How spicy will it be? Depends on chile variety. Mild Green New Mexico chiles make moderate heat; you can use hotter chiles (jalapeños, serranos) for more kick.
-
What do I serve it with? Use as a sauce over pork/chicken, in burritos, enchiladas, eggs, or simply with warm tortillas.
Final Thoughts
Canning green chile chile verde is not just about preserving food—it’s about capturing a season, a smell, a regional flavour and making it last. Whether you end up with several jars for your pantry or share them with friends, the smoky, bright, spice‑and‑herb punch of the sauce will bring New Mexico into your kitchen whenever you want. Just follow safe canning methods, label your jars, and enjoy the fruits (or chiles) of your labour year‑round.
Canning Recipe: Green Chile Chile Verde
Ingredients
Method
- Roast the green chiles until blistered and blackened. Steam them in a covered bowl or bag for ~10‑20 minutes, then peel, seed, and chop. This roasting deepens the flavour and loosens the skins.
- Safety note: Because green chiles are low‑acid foods, they require pressure canning or very careful acidification if using water‑bath.
- In a heavy pot over medium heat, add a little oil and sauté onion and garlic until translucent (~3‑4 minutes).
- Stir in the chopped chiles, onion powder, garlic powder and optional cumin/oregano. Cook 2‑3 minutes.
- Add water or stock and canning salt. Bring to a simmer and cook uncovered ~20‑30 minutes to meld flavours and reduce slightly.
- If using water‑bath canning: stir in the bottled lemon juice or vinegar now for safe acidity.
- Sterilize jars, lids and rings.
- Fill hot jars with hot chile verde, leaving appropriate headspace (usually ½ inch). Remove any air bubbles; wipe rims clean.
- For water‑bath canning (only if acidified): Process pints for ~40 minutes (adjust time for altitude).
- For pressure canning (recommended for low‑acid green chile sauces): Process according to guidelines (e.g., 10 lbs pressure for pints, ~55 minutes; adjust for altitude).
- Cool jars upright without tightening bands for 24 hours, then check seals.
Notes