There’s something magical about the sizzle of a hot skillet and the aroma of cumin and garlic wafting through the kitchen. My grandmother, though deeply rooted in Italian cooking, had a fascination with bold global flavors. One of her beloved kitchen experiments was chimichangas—a Mexican-American fusion that became a Sunday night favorite in our home.
I remember her carefully folding the tortillas and dropping them into the pan, her hands moving with precision and joy. As a child, I would sit on the counter, watching as each golden package emerged hot and crisp, filled with bubbling cheese and savory beef. We would gather around the table, adding dollops of sour cream, scooping spoonfuls of guacamole, and passing around jars of homemade salsa.

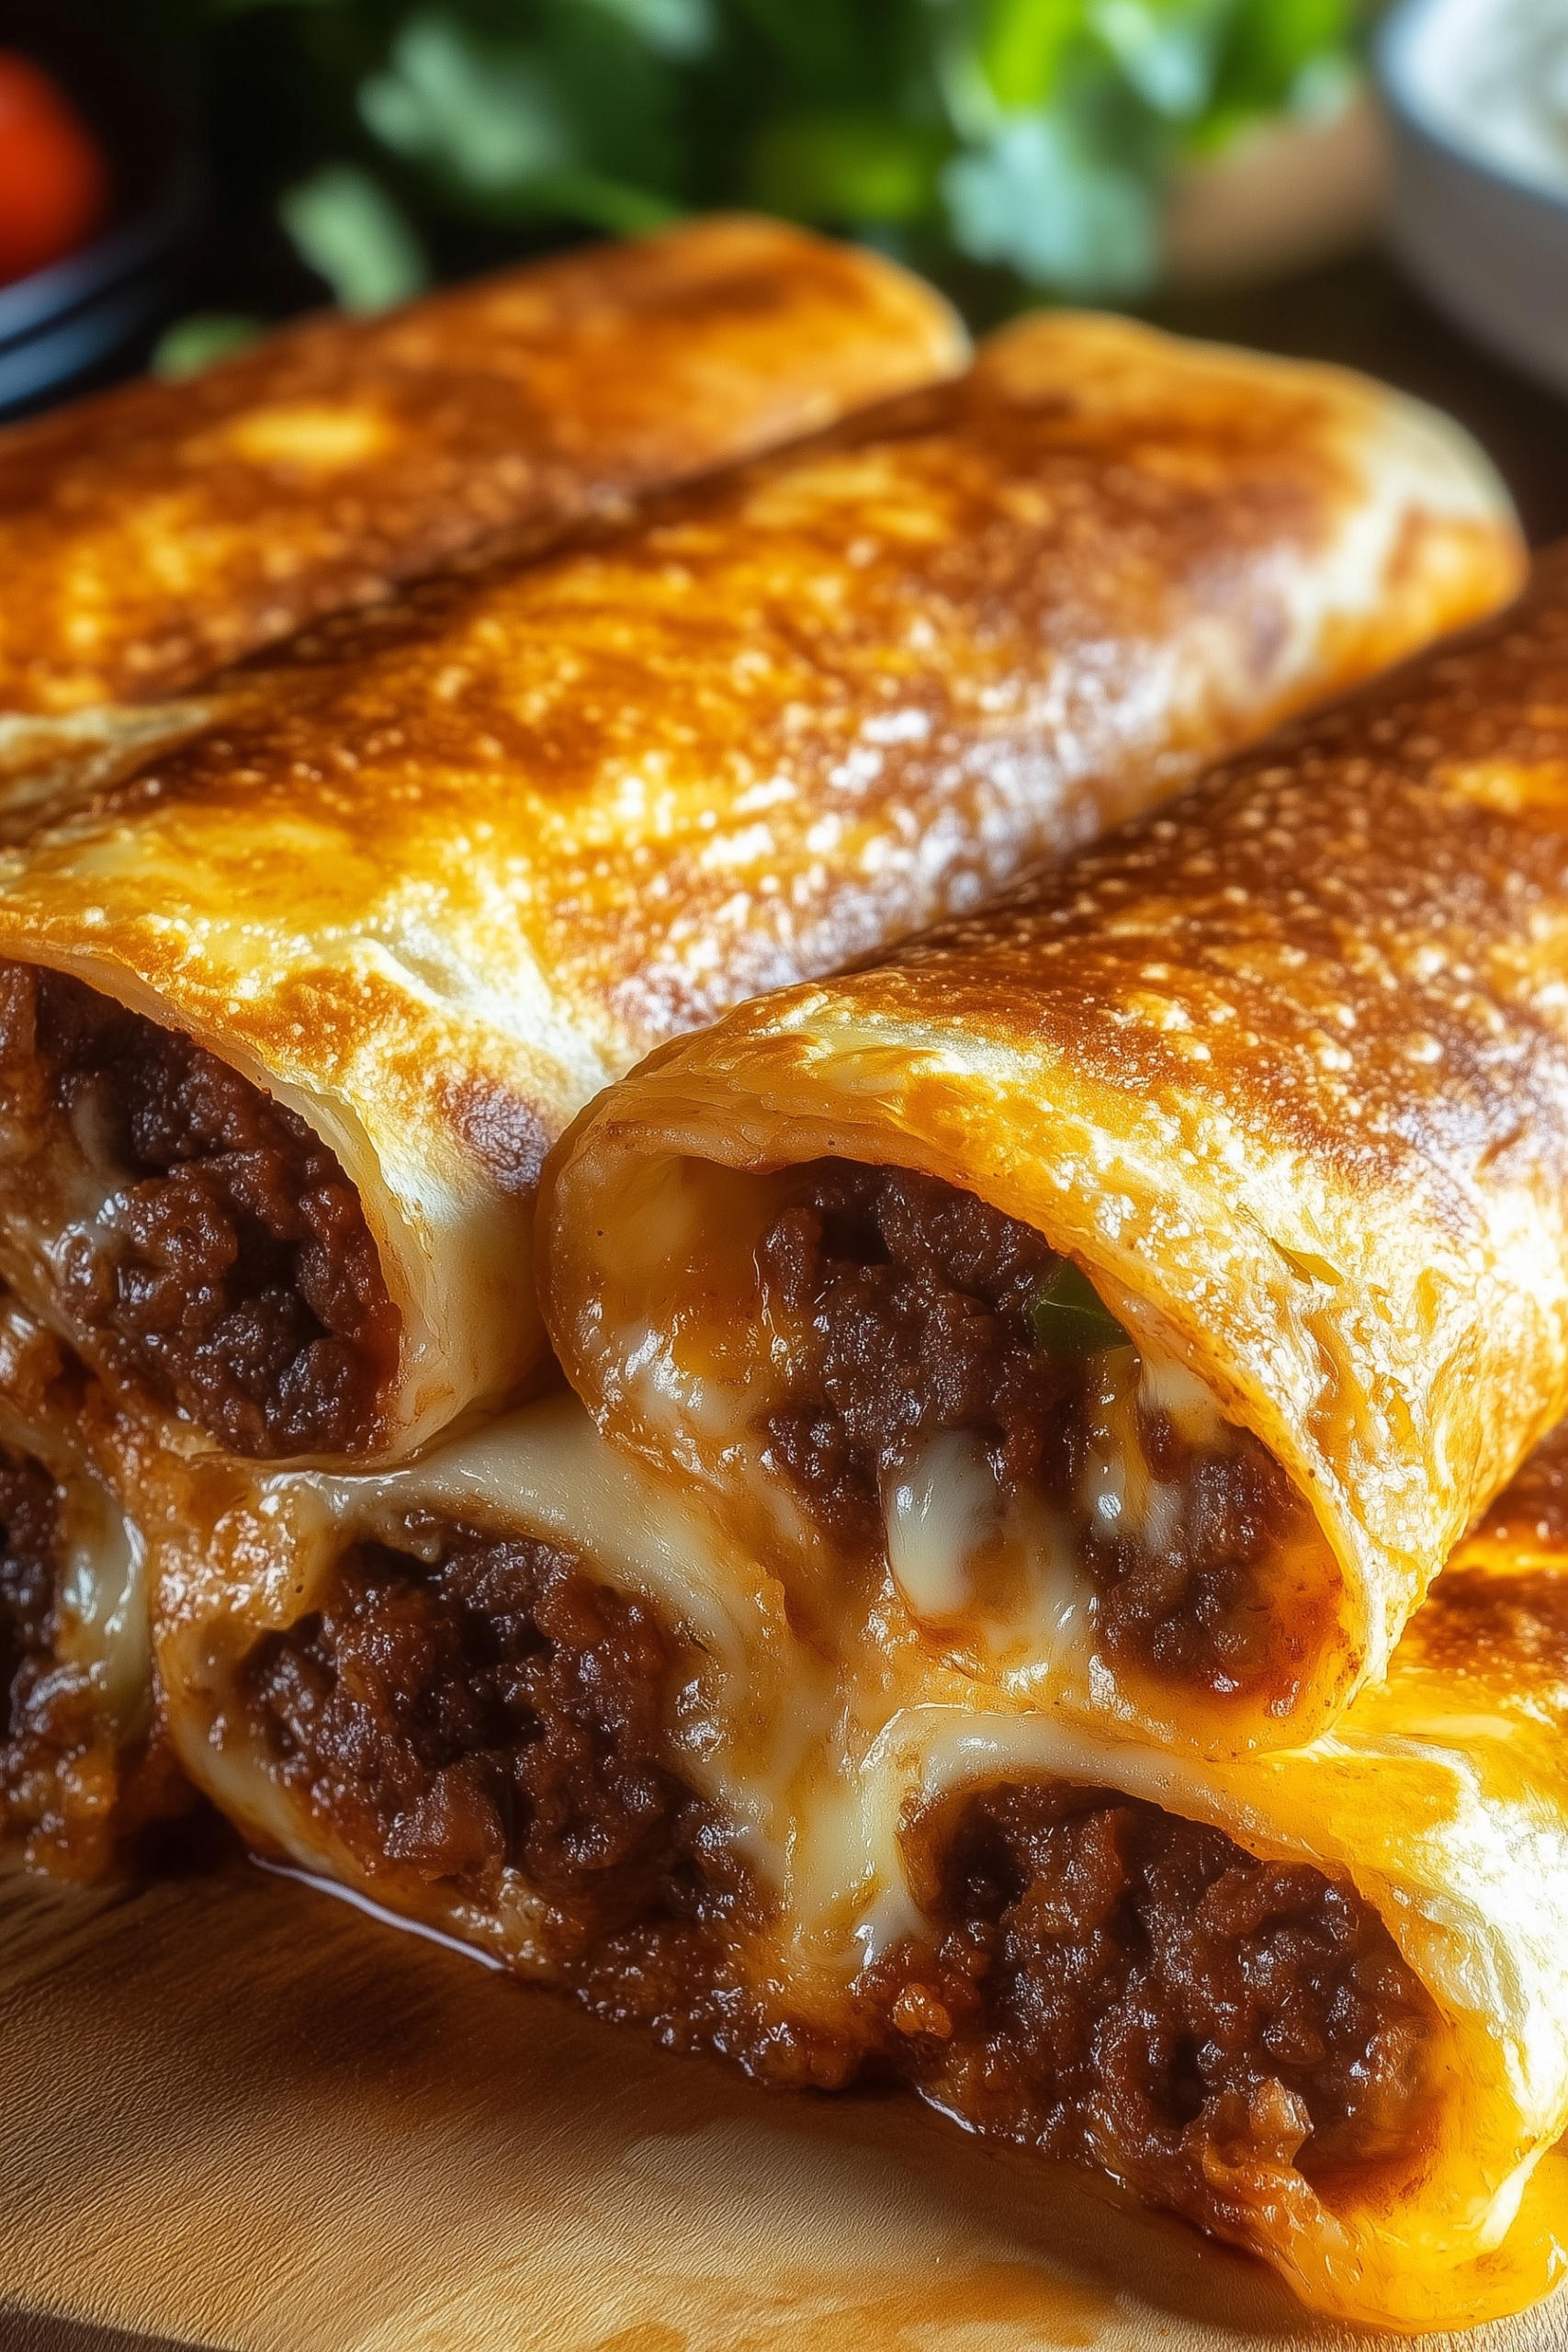
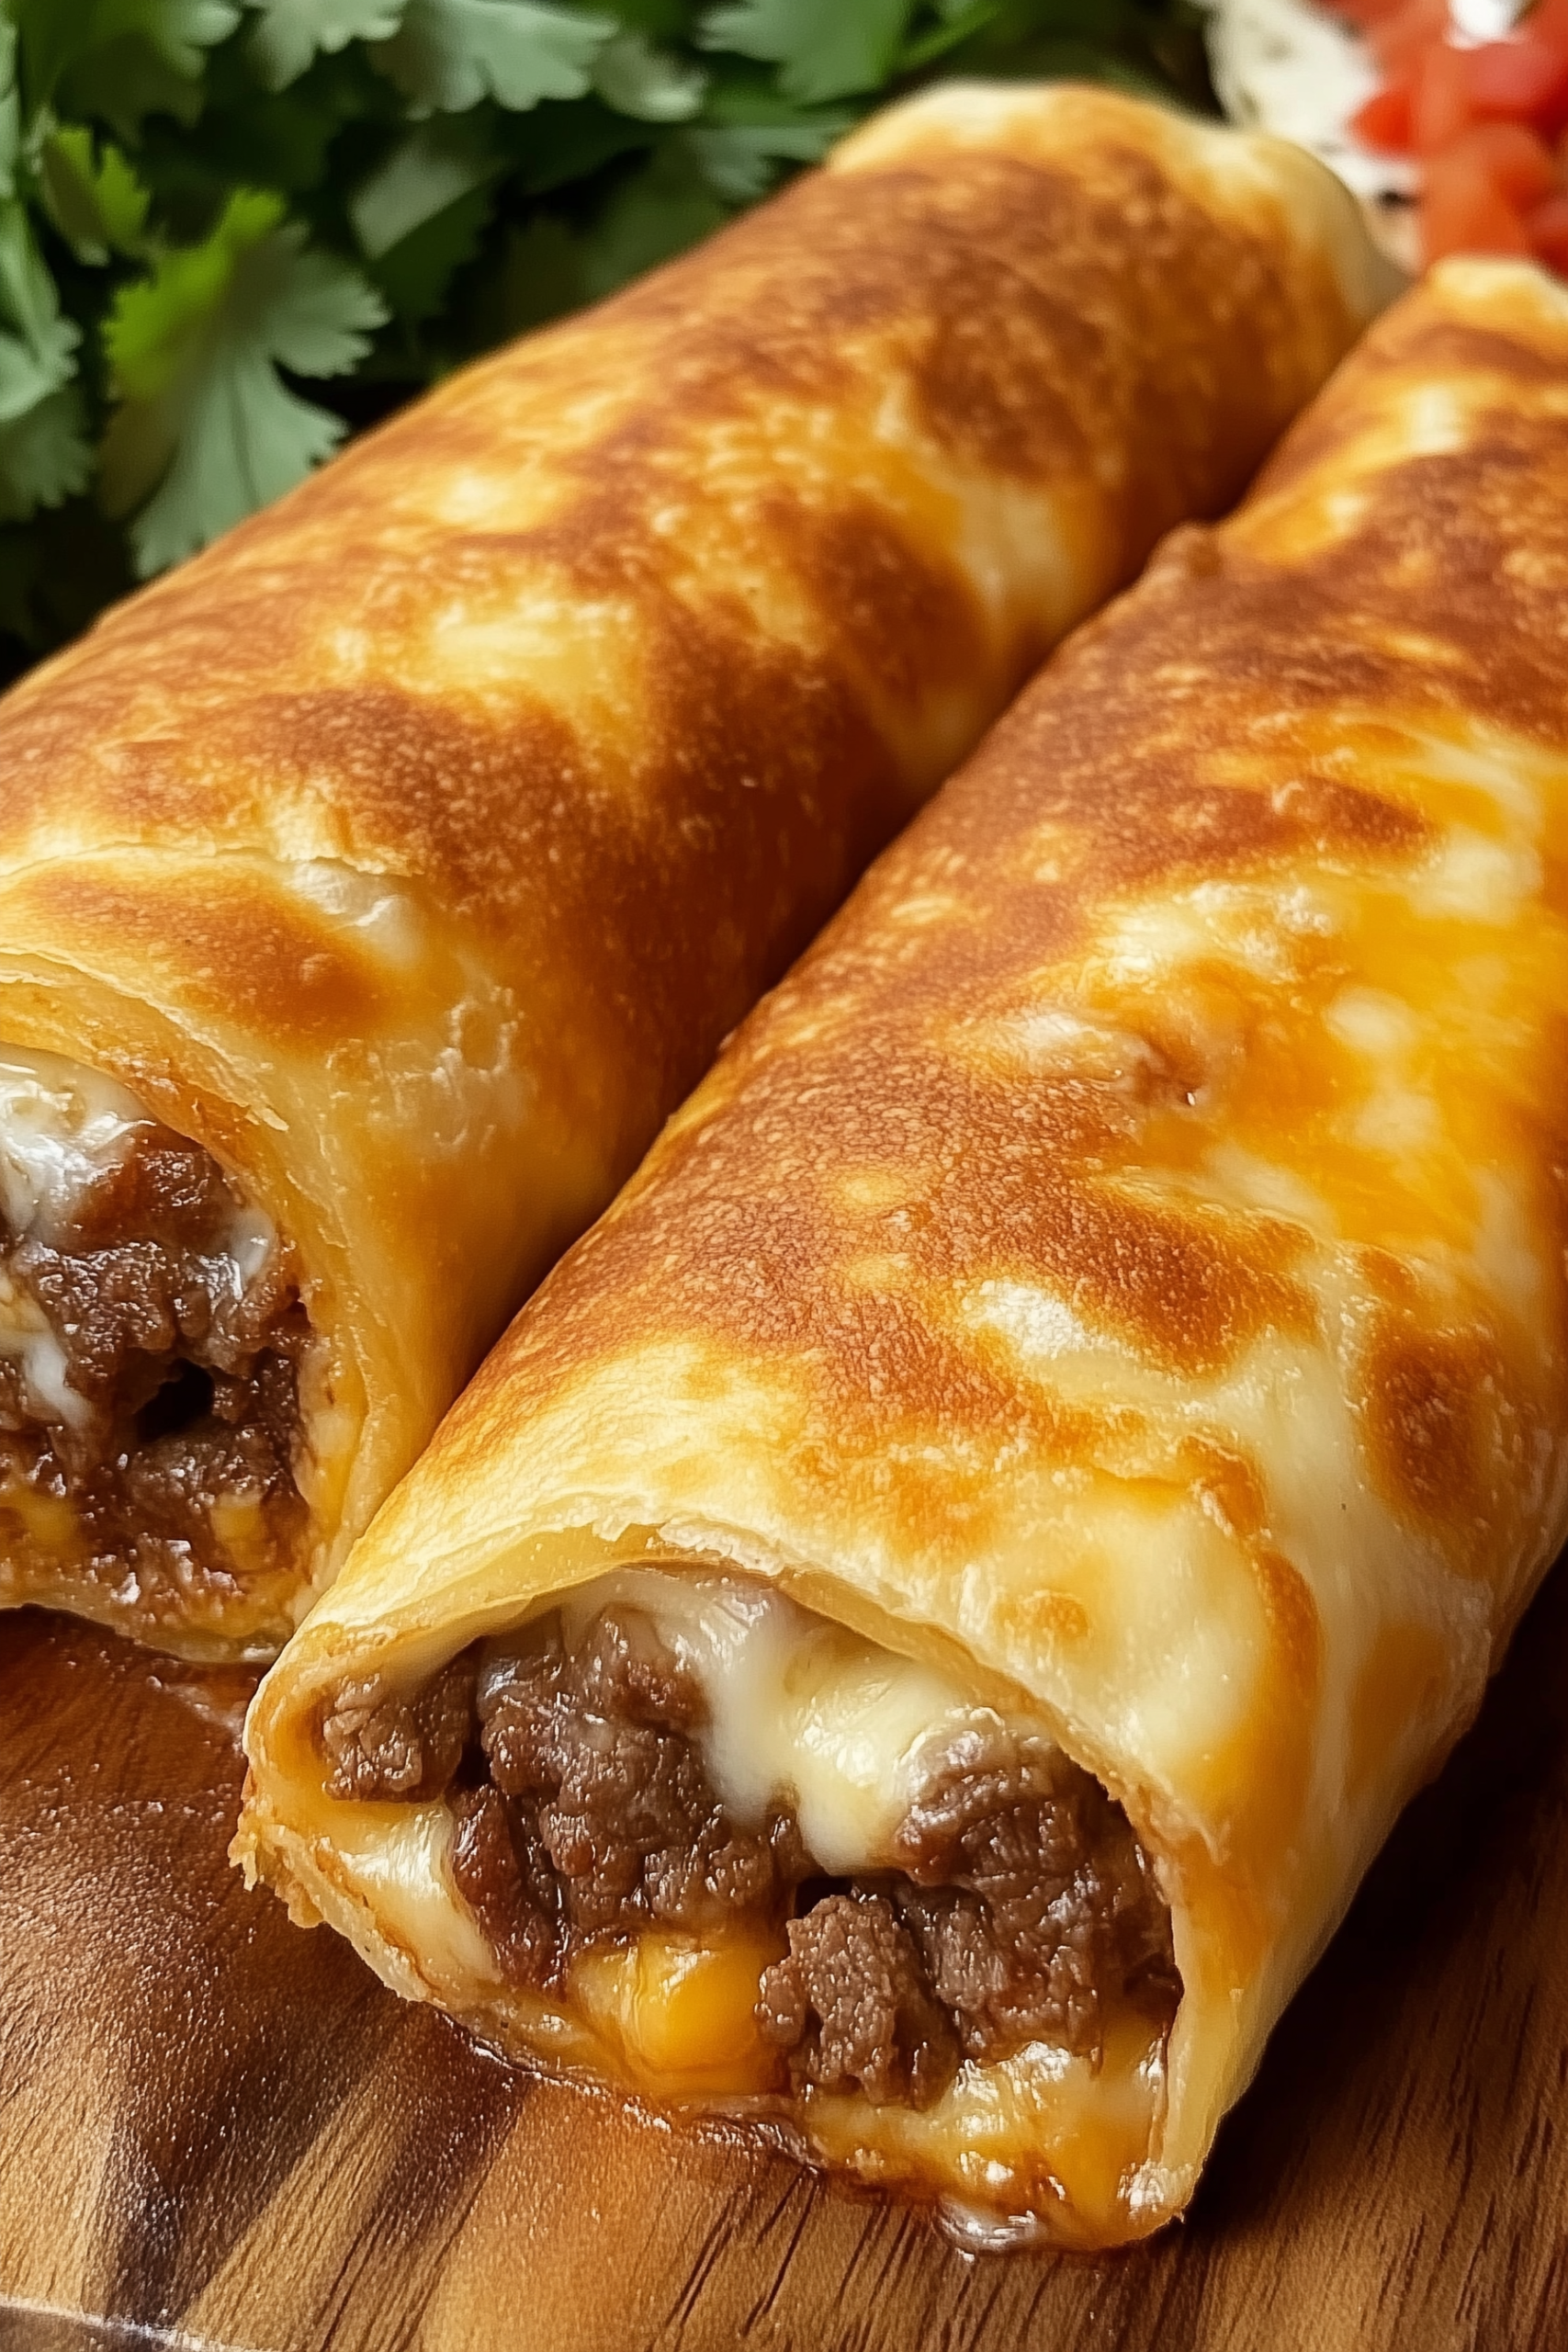
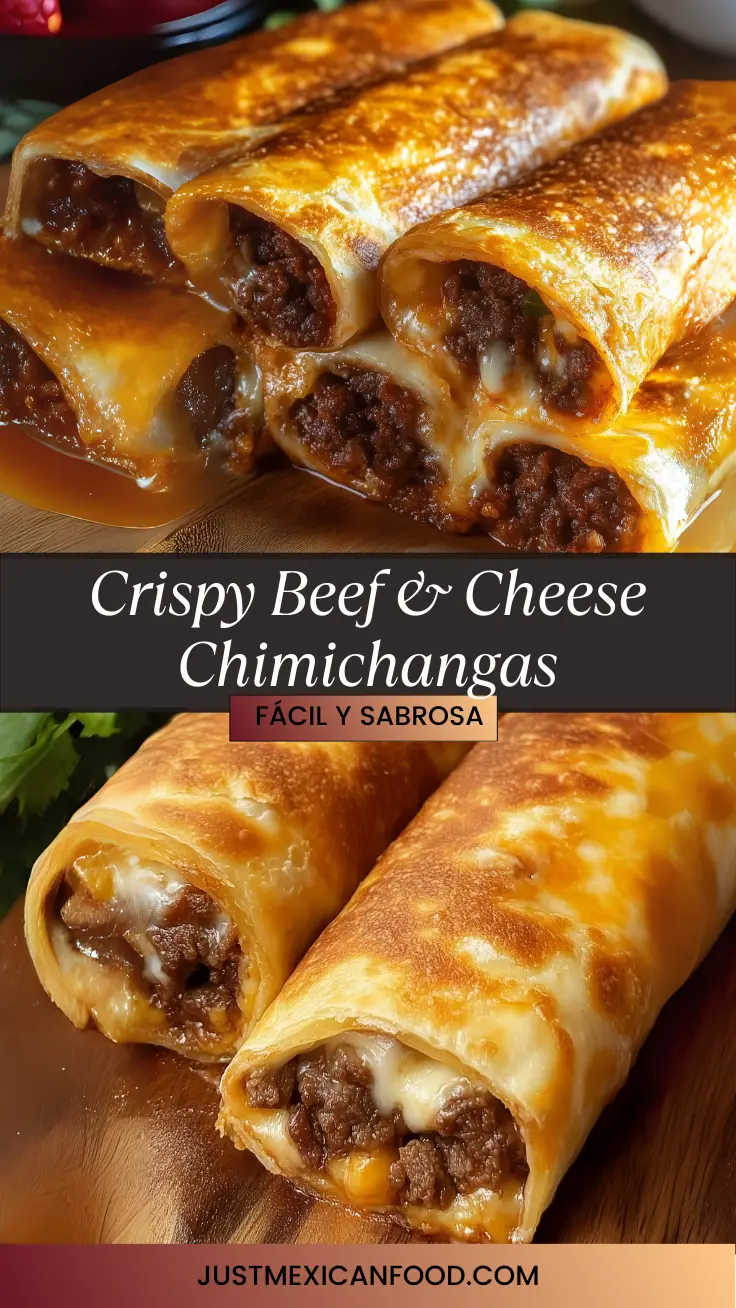
Now, whenever I make Crispy Beef & Cheese Chimichangas, I’m not just cooking a meal—I’m recreating memories. This dish has evolved in my own kitchen to include the convenience of pan-frying instead of deep-frying, and the ability to bake or air fry when I want a lighter version. Still, it never loses that magic—crispy on the outside, warm and cheesy on the inside, with bold Mexican spices in every bite.
These chimichangas are perfect for casual weeknight dinners or a fun weekend treat. They’re easy to customize, freeze well, and are a guaranteed crowd-pleaser for both kids and adults.

Table of Contents
Ingredients (Serves 4)
-
8 large flour tortillas (10-inch, soft and flexible)
-
1 pound ground beef (80/20 for best flavor and moisture)
-
1 small yellow onion, finely diced
-
2 cloves garlic, minced or finely grated
-
1 teaspoon ground cumin
-
1 teaspoon chili powder
-
½ teaspoon smoked paprika
-
Salt and freshly ground black pepper, to taste
-
1 cup shredded sharp cheddar cheese
-
1 cup shredded Monterey Jack cheese
-
2 tablespoons freshly chopped cilantro, plus more for garnish
-
2 tablespoons vegetable oil (for frying)
To serve:
-
Sour cream
-
Salsa
-
Guacamole
These ingredients are affordable and easy to find, making this an ideal recipe for meal prep, hosting friends, or even a casual dinner that feels like a treat.
Instructions
Step 1: Sauté the Beef Filling
Start by heating a large skillet over medium-high heat. Add the ground beef, onion, and garlic. Sauté everything together for about 5–7 minutes, stirring occasionally to ensure even browning. The beef should be fully cooked and crumbly, while the onions become soft and fragrant.
Once cooked, drain any excess fat from the pan. This step is important to keep your chimichangas from becoming greasy or soggy. You want the filling to be rich and flavorful—not overly oily.
Step 2: Season the Meat
Return the skillet to the stove and sprinkle in the ground cumin, chili powder, smoked paprika, salt, and black pepper. Stir well to coat every bit of meat with those warm, earthy spices. Let it cook for another minute so the flavors have time to develop. You’ll notice the aroma intensifying—that’s how you know it’s ready.
Now remove the pan from heat and stir in both cheeses and the chopped cilantro. The residual heat will begin melting the cheese, creating a creamy, savory filling that holds together beautifully when wrapped.
Step 3: Prepare the Tortillas
If your tortillas are stiff or cold, they may crack when you roll them. To avoid this, warm them briefly in a dry skillet for 30 seconds per side or wrap them in a damp towel and microwave for about 20–30 seconds. They should be soft and flexible.
Step 4: Fill and Wrap
Spoon roughly ⅓ cup of the beef and cheese filling into the center of each tortilla. To wrap, fold the sides inward first, then roll from the bottom up into a tight cylinder. Place the chimichangas seam-side down to help them stay sealed. You can secure them with a toothpick if needed, especially if frying multiple at once.
Step 5: Fry to Golden Perfection
In a clean skillet, heat 2 tablespoons of vegetable oil over medium heat. When the oil is shimmering but not smoking, gently place the chimichangas seam-side down into the pan. Fry each one for 2–3 minutes per side, turning carefully with tongs until all sides are crisp and golden.
Don’t rush this step—give them time to crisp evenly. Work in batches if needed, and add more oil between batches if the pan gets dry.
Step 6: Drain and Serve
Once they’re perfectly golden and crispy, transfer the chimichangas to a paper towel–lined plate to drain any excess oil. Let them sit for a minute or two before serving. This helps the exterior stay crisp and allows the filling to cool slightly so it’s not scorching hot when you bite in.
Garnish with extra cilantro and serve with sour cream, salsa, and guacamole. These finishing touches balance the richness of the filling with brightness and freshness.
Serving Suggestions
These chimichangas can be the centerpiece of a satisfying meal. Serve them alongside:
-
Spanish rice or cilantro-lime rice
-
A light corn and avocado salad
-
Refried or black beans
-
Pickled jalapeños or fresh lime wedges
They also make fantastic leftovers—reheat them in the oven or air fryer for a next-day lunch that tastes just as good as fresh.
Tips and Variations
-
Spice it up: Add jalapeños, cayenne pepper, or chipotle in adobo to the beef mixture.
-
Bake instead of fry: Brush the rolled chimichangas lightly with oil and bake at 400°F (200°C) for about 20 minutes, flipping halfway through.
-
Try other proteins: This recipe works beautifully with shredded chicken, ground turkey, or vegetarian crumbles.
-
Make ahead: You can assemble and refrigerate chimichangas a day in advance. Cook them fresh just before serving.
Frequently Asked Questions
Can I freeze chimichangas?
Yes! Wrap them individually in foil and store them in a zip-top freezer bag. Reheat in the oven at 375°F for 20–25 minutes until heated through and crispy.
What’s the difference between a burrito and a chimichanga?
A burrito is typically soft and steamed or grilled. A chimichanga, on the other hand, is fried or baked for a crispy shell. It’s the same concept—but with an irresistible crunch.
Can I air-fry these?
Absolutely. Preheat your air fryer to 400°F. Spray the chimichangas lightly with oil and air fry for 8–10 minutes, flipping halfway for even crisping.
Final Thoughts
Crispy Beef & Cheese Chimichangas are a celebration of bold, comforting flavors with a crunchy twist. They’re proof that weeknight dinners don’t have to be boring, and that even the most casual meals can carry a sense of tradition, joy, and family connection. Whether you’re making them for a quick dinner, freezing a batch for later, or serving them at your next get-together, this recipe delivers satisfaction every single time.
Simple to make, versatile, and endlessly customizable, this dish belongs in your regular rotation. So grab your tortillas, heat up your skillet, and let the sizzle bring a little excitement to your kitchen.

Crispy Beef & Cheese Chimichangas
Ingredients
Method
- Start by heating a large skillet over medium-high heat. Add the ground beef, onion, and garlic. Sauté everything together for about 5–7 minutes, stirring occasionally to ensure even browning. The beef should be fully cooked and crumbly, while the onions become soft and fragrant.
- Once cooked, drain any excess fat from the pan. This step is important to keep your chimichangas from becoming greasy or soggy. You want the filling to be rich and flavorful—not overly oily.
- Return the skillet to the stove and sprinkle in the ground cumin, chili powder, smoked paprika, salt, and black pepper. Stir well to coat every bit of meat with those warm, earthy spices. Let it cook for another minute so the flavors have time to develop. You’ll notice the aroma intensifying—that’s how you know it’s ready.
- Now remove the pan from heat and stir in both cheeses and the chopped cilantro. The residual heat will begin melting the cheese, creating a creamy, savory filling that holds together beautifully when wrapped.
- If your tortillas are stiff or cold, they may crack when you roll them. To avoid this, warm them briefly in a dry skillet for 30 seconds per side or wrap them in a damp towel and microwave for about 20–30 seconds. They should be soft and flexible.
- Spoon roughly ⅓ cup of the beef and cheese filling into the center of each tortilla. To wrap, fold the sides inward first, then roll from the bottom up into a tight cylinder. Place the chimichangas seam-side down to help them stay sealed. You can secure them with a toothpick if needed, especially if frying multiple at once.
- In a clean skillet, heat 2 tablespoons of vegetable oil over medium heat. When the oil is shimmering but not smoking, gently place the chimichangas seam-side down into the pan. Fry each one for 2–3 minutes per side, turning carefully with tongs until all sides are crisp and golden.
- Don’t rush this step—give them time to crisp evenly. Work in batches if needed, and add more oil between batches if the pan gets dry.
- Once they’re perfectly golden and crispy, transfer the chimichangas to a paper towel–lined plate to drain any excess oil. Let them sit for a minute or two before serving. This helps the exterior stay crisp and allows the filling to cool slightly so it's not scorching hot when you bite in.
- Garnish with extra cilantro and serve with sour cream, salsa, and guacamole. These finishing touches balance the richness of the filling with brightness and freshness.

