Last Updated on August 11, 2025 by Casia Valdés
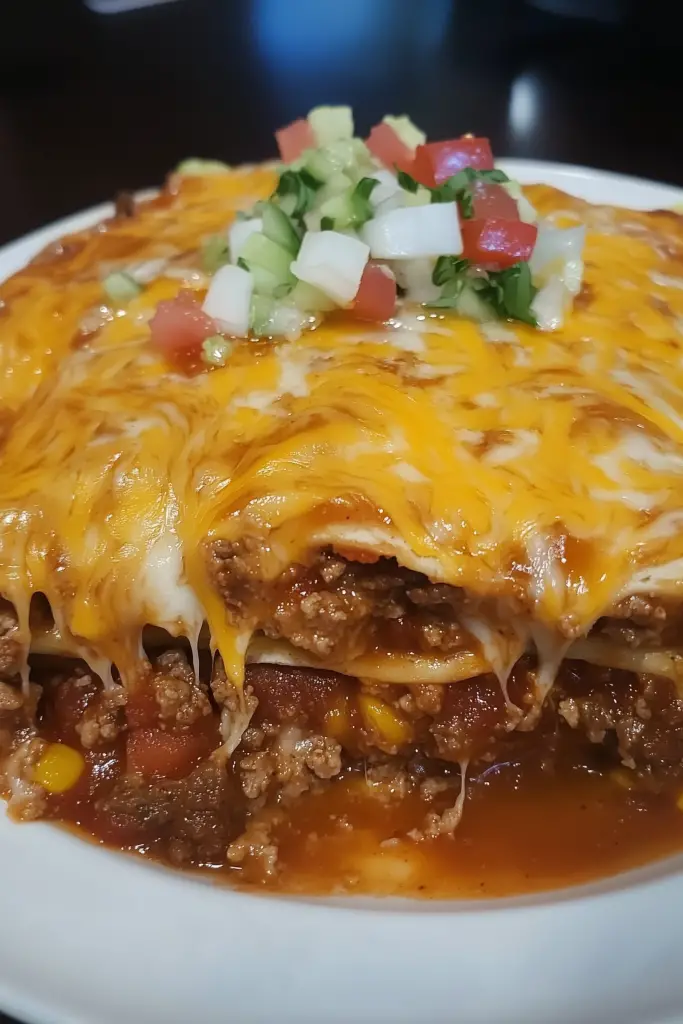
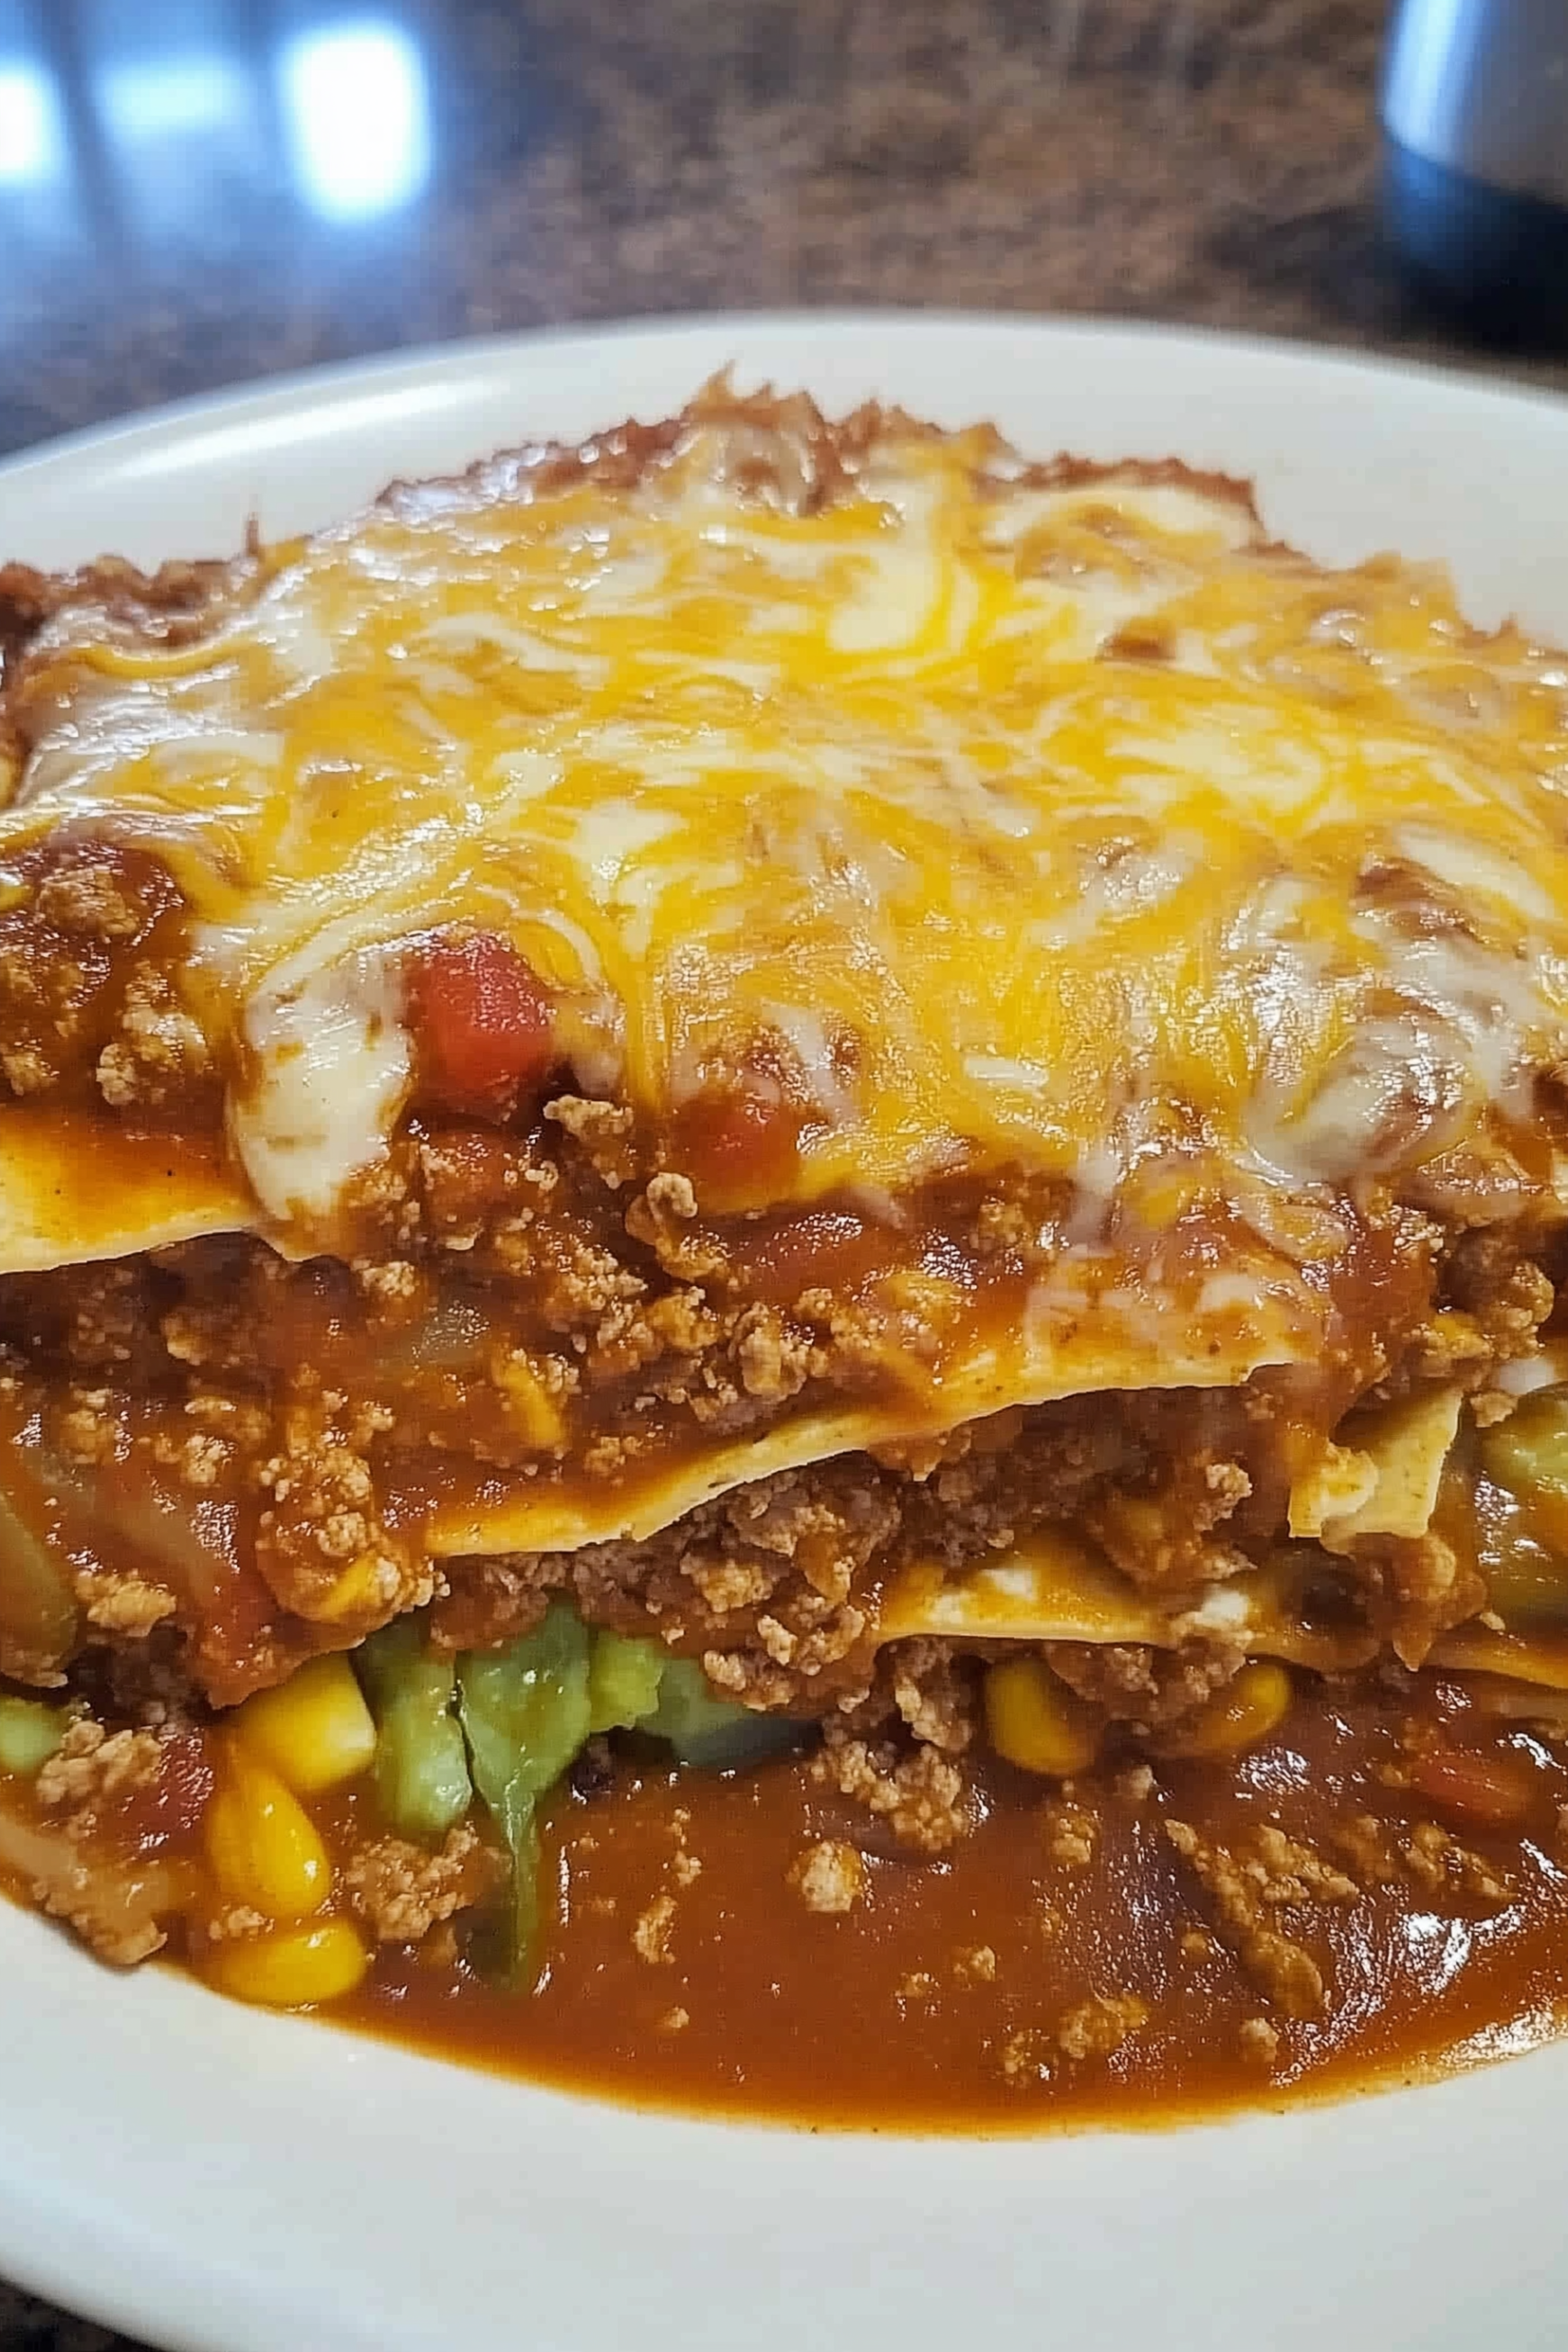
Few dishes are as satisfying and easy to throw together as Stacked Enchiladas. Unlike traditional rolled enchiladas, this version layers tortillas, beef, beans, and cheese into a towering, saucy stack that’s baked to perfection. It’s hearty, comforting, and packed with rich Mexican flavors—making it the perfect dish for a weeknight dinner or a cozy weekend treat.
Inspired by the simplicity of Tex-Mex home cooking and the bold flavors of traditional Mexican cuisine, stacked enchiladas bring all the goodness of a classic enchilada without the fuss of rolling each tortilla. It’s essentially the lasagna of the Southwest—layered, melty, and irresistible.

Table of Contents
Why You’ll Love These Stacked Enchiladas
-
No rolling necessary—quick and easy to layer
-
Packed with flavorful ground beef and refried beans
-
Loaded with cheddar cheese and mild enchilada sauce
-
Bakes in just 20 minutes
-
Easily customizable with your favorite toppings
-
Perfect for both summer gatherings and cozy winter dinners
Ingredients
-
1 lb ground beef
-
1 (16 oz) can refried beans
-
1 (10 oz) can mild enchilada sauce
-
6 (8-inch) flour tortillas
-
2 cups shredded cheddar cheese (1 – 8 oz bag)
Optional Toppings:
-
Salsa
-
Sliced avocado
-
Sour cream
-
Fresh cilantro
-
Pickled or fresh jalapeños
Instructions
Step 1: Prepare the Filling
Preheat your oven to 350°F (175°C).
In a saucepan over medium heat, brown the ground beef until no longer pink. Drain excess fat, then stir in the refried beans. Mix until well combined and heated through. Set aside.
Step 2: Prep the Baking Dish
Lightly grease a pie plate or an 8- or 9-inch square baking pan with cooking spray. Pour about 2 tablespoons of enchilada sauce into the bottom of the dish and spread it evenly.
Step 3: Start Stacking
Layer the dish in the following order:
-
Tortilla
-
½ cup beef and bean mixture
-
¼ cup shredded cheese
Repeat until all 6 tortillas have been used. For best results, spread the beef and bean mixture directly onto each tortilla before placing it in the dish—this helps create even layers.
Top the final layer with the last tortilla.
Step 4: Sauce & Cheese
Pour the remaining enchilada sauce into the leftover beef and bean mixture and stir to combine.
Spread this saucy mixture over the top tortilla, making sure to cover the edges.
Sprinkle the remaining cheddar cheese generously on top.
Step 5: Bake
Bake uncovered in the preheated oven for 20 minutes, or until the cheese is bubbly and melted to golden perfection.
Let sit for 5 minutes before slicing and serving.
How to Serve Stacked Enchiladas
This dish is incredibly versatile. Serve with:
-
A crisp side salad
-
Mexican rice or cilantro-lime rice
-
Tortilla chips and guacamole
-
Black beans or charro beans
And don’t forget the toppings! Add sour cream, avocado slices, and a sprinkle of chopped cilantro for extra flavor and freshness.
Tips for Success
-
Use flour or corn tortillas depending on your preference—corn gives a more traditional flavor.
-
For more flavor, mix in chopped onions, green chiles, or taco seasoning with the beef.
-
Swap cheddar for a Mexican cheese blend or use Monterey Jack for extra meltiness.
-
Want a vegetarian version? Omit the beef and double up on beans and veggies like corn or spinach.
Storage & Freezing
-
Store leftovers in the fridge for up to 3 days in an airtight container.
-
Reheat in the oven at 300°F or in the microwave.
-
Freeze unbaked enchilada stacks wrapped tightly in foil for up to 2 months. Thaw in the fridge overnight before baking.
Variations
-
Spicy Kick: Use hot enchilada sauce or add diced jalapeños to the filling.
-
Chicken Version: Swap ground beef for shredded rotisserie chicken.
-
Breakfast Stack: Use scrambled eggs, chorizo, and hash browns with a drizzle of enchilada sauce.
-
Green Enchiladas: Use green enchilada sauce and top with cotija cheese.
FAQs
What’s the difference between stacked and rolled enchiladas?
Stacked enchiladas are layered like a lasagna, making them quicker to prepare. Rolled enchiladas are more traditional but take more time to assemble.
Can I use corn tortillas instead of flour?
Yes! Corn tortillas provide a more authentic flavor and are naturally gluten-free. Just be sure to warm them slightly to prevent breaking.
Can I make stacked enchiladas ahead of time?
Absolutely. Assemble the stack, cover tightly, and refrigerate for up to 24 hours before baking.
Is this dish freezer-friendly?
Yes! Freeze before baking, tightly covered in foil. Bake from frozen, adding an additional 10–15 minutes to the baking time.
Final Thoughts
Stacked Enchiladas are proof that delicious doesn’t have to mean complicated. With simple ingredients, quick assembly, and irresistible flavors, this dish is the perfect balance of tradition and convenience. Whether you’re cooking for two or doubling the recipe for a crowd, it’s bound to be a hit.
Warm, melty, and made for comfort—this is one meal you’ll find yourself making again and again.
Stacked Enchiladas
Ingredients
Method
- Preheat your oven to 350°F (175°C).
- In a saucepan over medium heat, brown the ground beef until no longer pink. Drain excess fat, then stir in the refried beans. Mix until well combined and heated through. Set aside.
- Lightly grease a pie plate or an 8- or 9-inch square baking pan with cooking spray. Pour about 2 tablespoons of enchilada sauce into the bottom of the dish and spread it evenly.
- Layer the dish in the following order:
- Tortilla
- ½ cup beef and bean mixture
- ¼ cup shredded cheese
- Repeat until all 6 tortillas have been used. For best results, spread the beef and bean mixture directly onto each tortilla before placing it in the dish—this helps create even layers.
- Top the final layer with the last tortilla.
- Pour the remaining enchilada sauce into the leftover beef and bean mixture and stir to combine.
- Spread this saucy mixture over the top tortilla, making sure to cover the edges.
- Sprinkle the remaining cheddar cheese generously on top.
- Bake uncovered in the preheated oven for 20 minutes, or until the cheese is bubbly and melted to golden perfection.
- Let sit for 5 minutes before slicing and serving.